Listen to the full episode to hear more details about each tip.
- Get organized ahead of time. Have your client list out group combinations.
- Give yourself enough time. Tell them to anticipate about 3-5 minutes per grouping, so if they have 30 minutes at a wedding, for example, aim for around ten groups. If they want more, they need to leave more time.
- Choose someone to be the helper—this is the person who takes the list and reads the names and helps organize while I’m focused on getting people in there and lined up. And if it’s a wedding, it cant’ be the wedding day coordinator or any parent…because they have other things to do, and I’ve learned the hard way that they just won’t be able to do it.
- Choose the right lens for your photos. As your groups get bigger, don’t just go wider on your lens. You need to step back. I still use my 85 as much as I possibly can—I just step way back and let them know what I’m doing. If you use a wide lens with a big group, the people on the sides are going to look distorted and weird, and no one wants that.
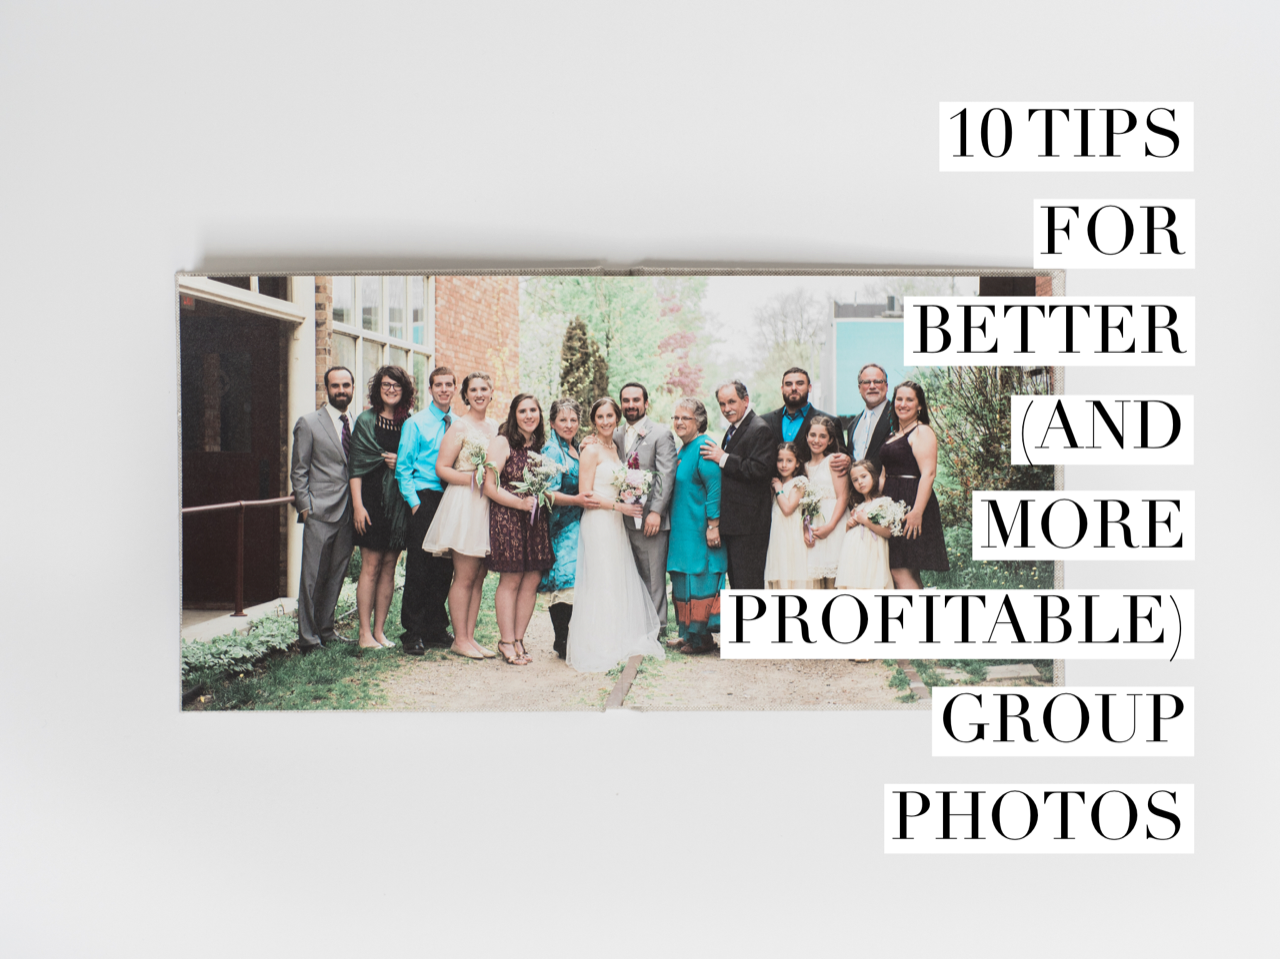
- Pose the group. If I have ten people, I’ll stand them in one straight line (angle each person 45 degrees toward the center). If there are more than ten people, I’ll grab chairs or create rows.
- Getting kids to look. If I have an assistant, I’ll have the assistant help get kids’ attention (or a wedding guest). I also use my expo disc (because it’s shiny) or pop out my reflector as a “magic trick” and show them the shiny gold side.
- Talk them through it. If I’m backing up, I tell them that I’ll let them know when I’m ready. I tell them that I’m going to take at least five photos to make sure I have eyes open, and I tell them when I’m all set.
- For weddings, push some photos to the reception if you have to (e.g. high school friends, college friends, extended family, etc.). Have the MC call everyone to the dance floor or take everyone outside to a clear space.
- Frame your photos for the frame. Leave enough space on the edges to crop and frame the photos, and be sure to give everyone an opportunity to buy the prints. At weddings, I have cards that tell them where to find the gallery to sign up to get an alert when the photos are live.
- Always ask to make sure that you’ve gotten everything they want.
